[ad_1]
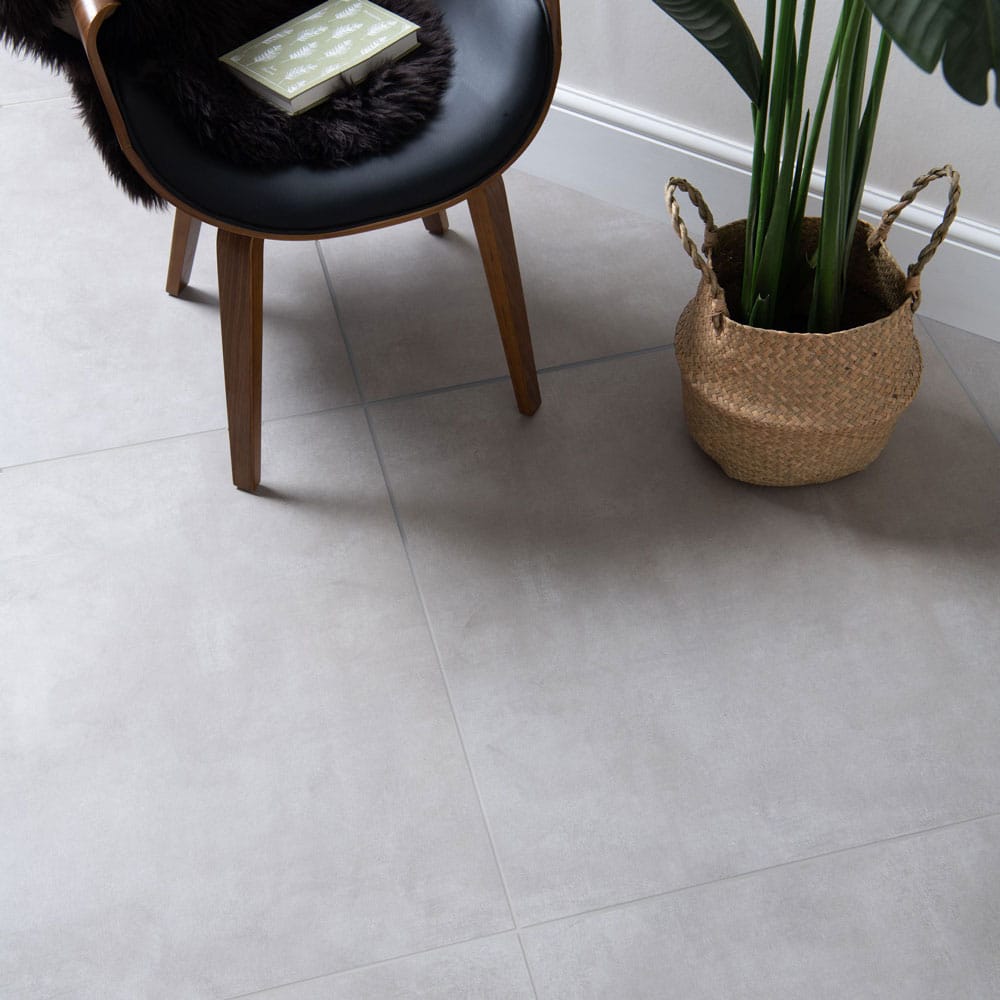
Seeking to do a little bit of Do it yourself and set up your personal floor tiles throughout the home? Really do not get worried, we’re right here to aid! With the assistance of our resident Do-it-yourself expert Craig Phillips, we’ll be guiding you on how to set up floor tiles, so you don’t have to stress about receiving any dear traders associated!
You will have to have:
And your Tiles!
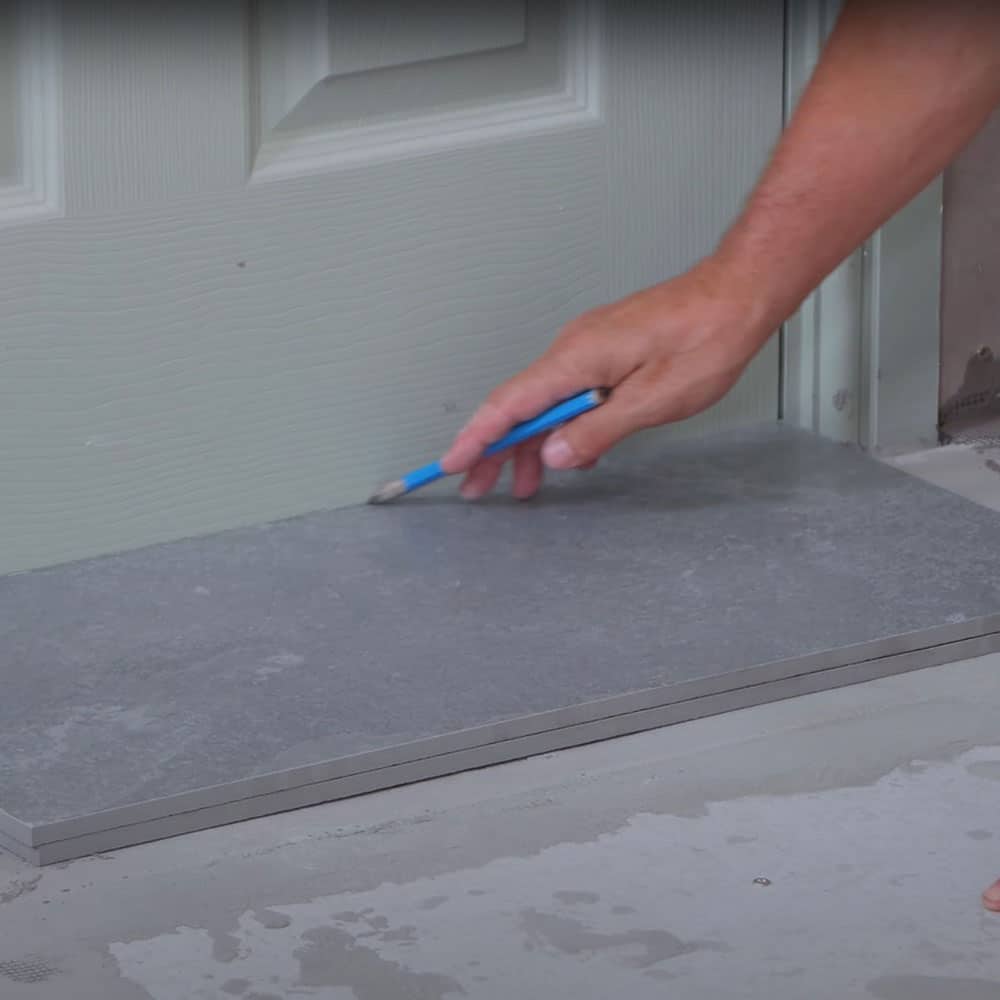
1- Look at your doorway measurement isn’t going to be a issue
If you’re tiling in a room wherever the door opens inwards towards the home, you will want to ensure there is enough clearance at the base of your door, to accommodate for the added height you are going to be adding when your tiles are set up. If you consider your doorway sizing could be an concern, lay two of your tiles on top of a single yet another in entrance of the doorway, and draw a line across the door wherever the top a person sits. Choose your door off its hinges and lower absent the portion alongside the base of the door that you’ve just marked. Reattach the doorway, and double examine it now clears your floor tiles. If you have to have further aid and suggestions on how to reduce a doorway down to dimensions, be certain to examine out our guide!
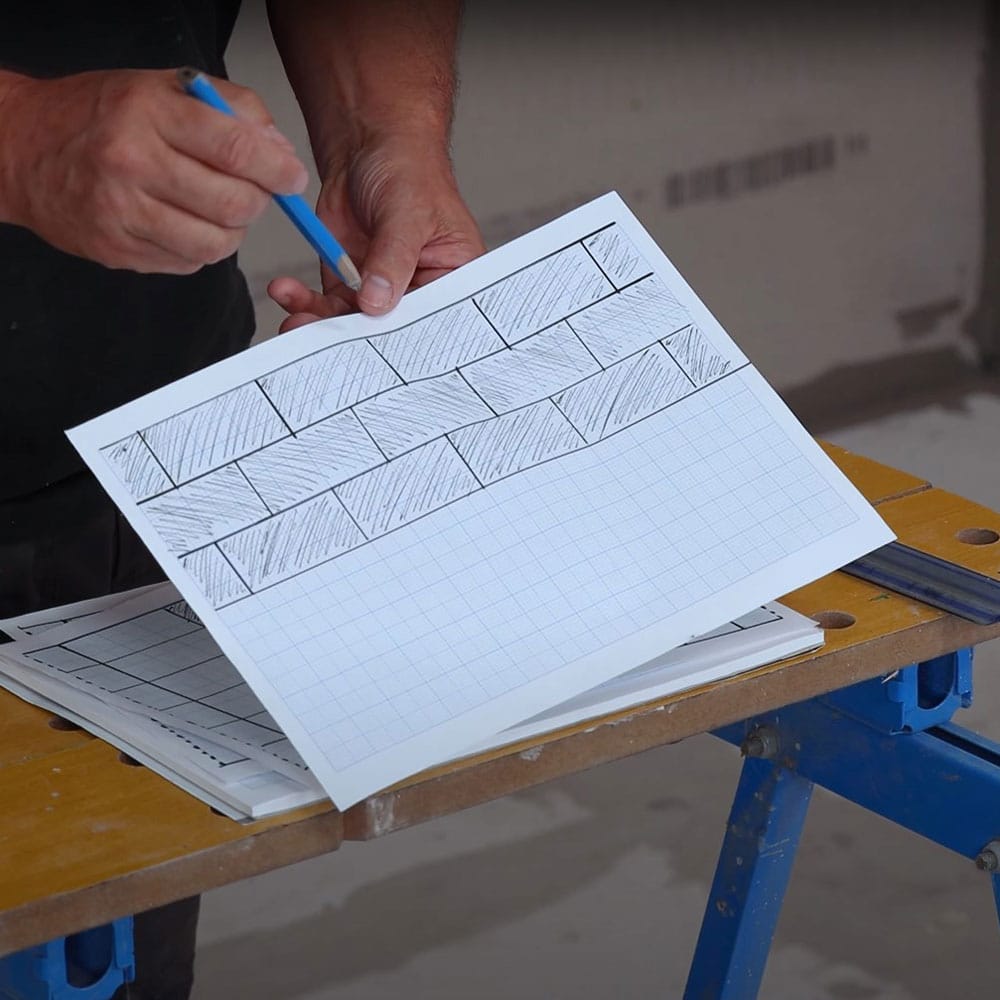
2- Program your format
You will will need to approach the format of your tiles prior to you get started off to be certain you are content with the type and format. Seize yourself some gridded paper and a pencil so you can attract out the condition and sizing of your home. With a tape evaluate, measure all points throughout the home and attract these onto your paper, using the grid as a guidebook for your measurements. Evaluate your picked tiles and start off to program out many means of laying them.
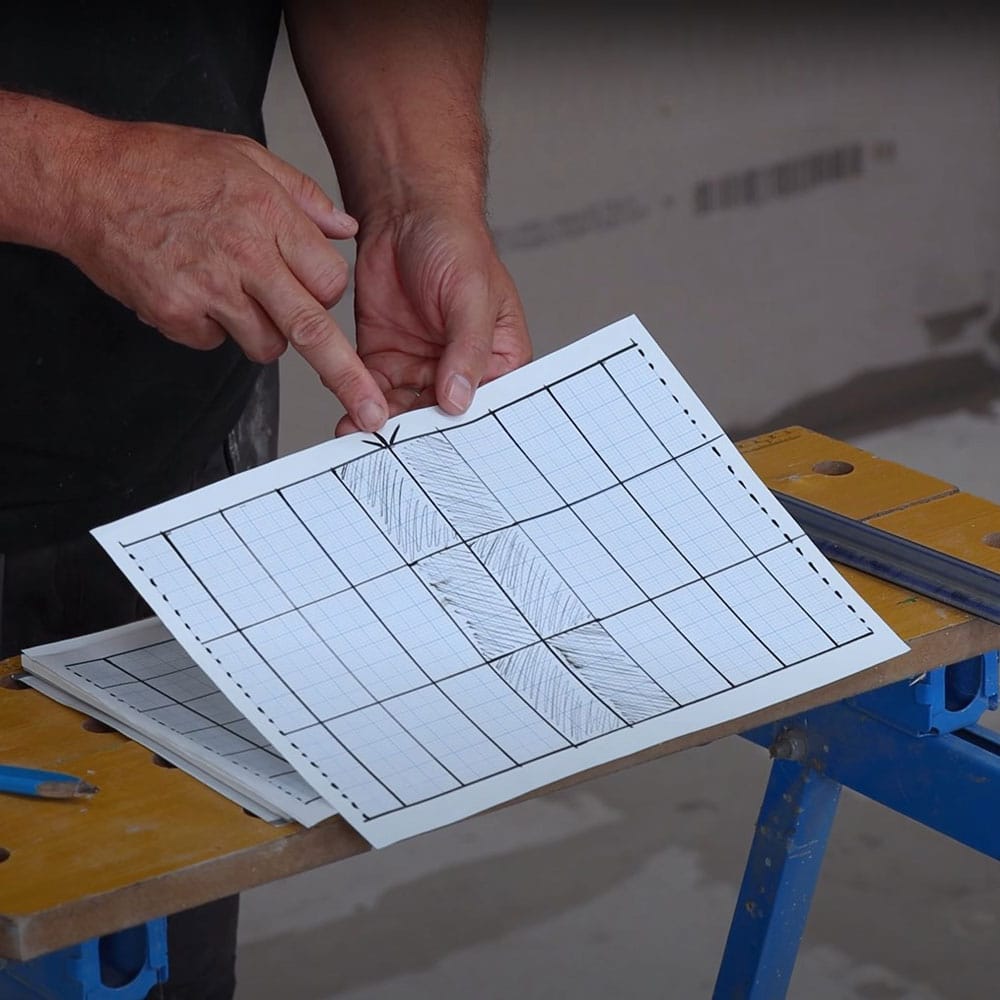
Obtain the centre level of the wall in your home, and use this as a information for figuring out which structure will do the job finest for you. Some examples are laying a tile possibly aspect of your centre position, so the grout line will be in the extremely centre of the wall, and operating outwards to every edge of the area. Or, line the centre level of your tile up with the centre issue of the place, and tile outwards from here. Come to a decision which will be ideal for your house, accounting for the slash items at every edge of the place. You can also use your diagram to make a decision whether or not or not you’d like to do a brick bond structure, setting up wherever every tile is to go on your floor place.
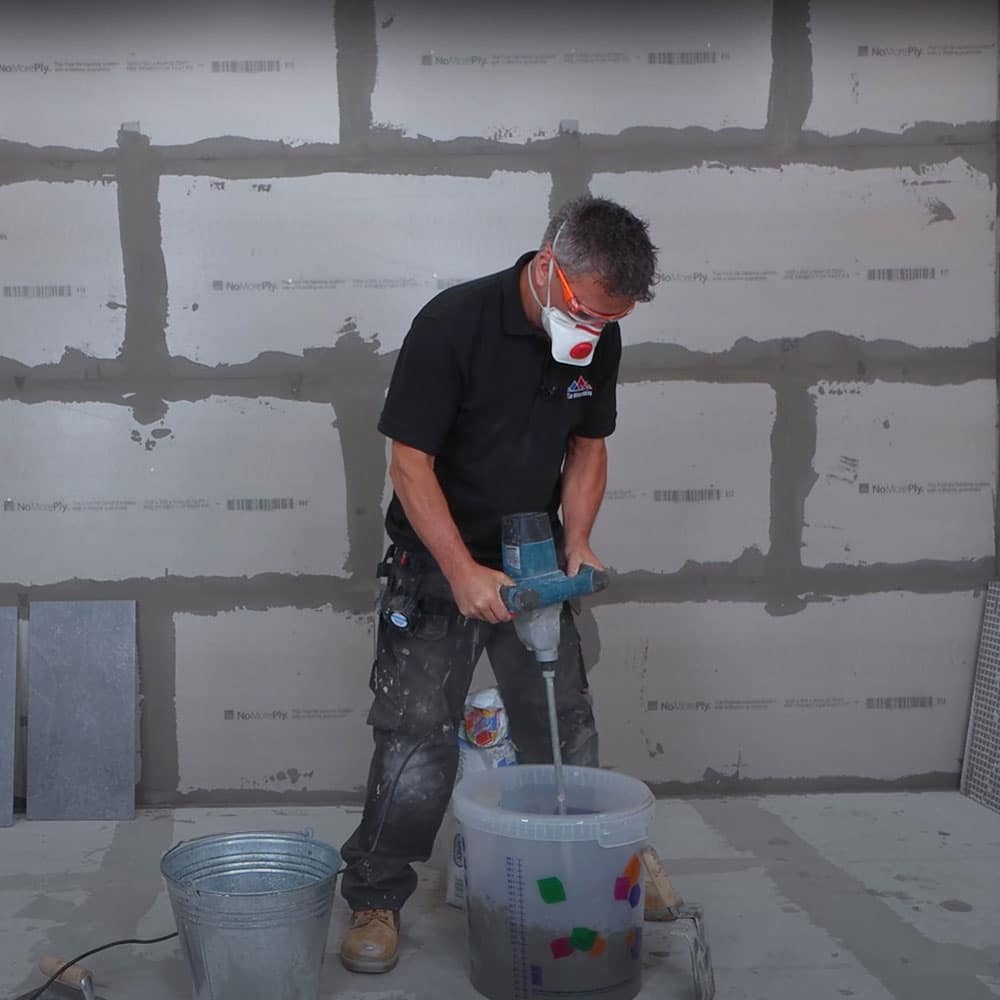
3- Prepare your adhesive
When it’s time to combine your adhesive up, grab your huge bucket, adhesive powder and some clear h2o. Cover your encounter with your PPE, as the adhesive is a powder solution, and pour into your huge bucket with drinking water in the bottom. Use a drill and paddle mixer to combine this merchandise. If you’re utilizing a swift set adhesive like we are, mix roughly plenty of item to previous about 15 minutes of work, as it will get started to dry in this time.
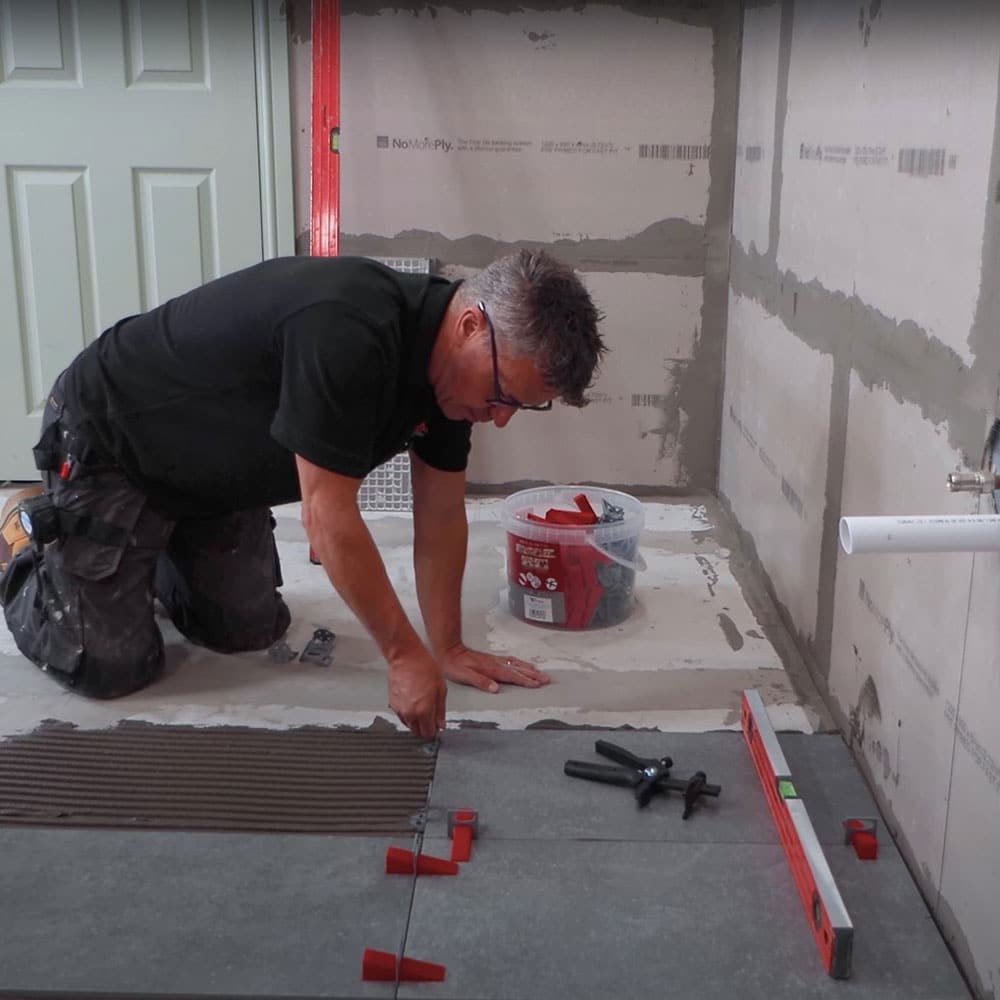
4- Positioning your tiles
Subsequent your format prepare, you can now start off laying your tiles. Distribute some adhesive on to the floor with a trowel, and comb it via with a serrated edge trowel to make certain its an even unfold. Get the job done in 1 tile increments to make sure you have the room and time to shift it all over if necessary. Put your tile down and seize your levelling clips, positioning one below each and every corner of the tile. Now location your next, third, fourth and so on, doing the job outwards until you arrive at the edge of your space, inserting levelling wedges in just about every one of the clips you have set up to degree the tiles. Examine with a spirit amount that your tiles are straight in advance of leaving the adhesive to dry. Leave any minimize tiles until finally later on in your task.
If you are having difficulties to use the levelling method, be guaranteed to verify out our How to Use a Levelling System When Laying Floor Tiles tutorial.
5- Guaranteeing your tiles are straight
If you’re operating in a bigger tiled house, be positive to look at that your traces and tiles are straight through. You can do this with a string line. Take care of the string at one particular conclusion of the room, in line with your grout line, and run it throughout the floor area, lining it up with the other grout lines. This will spotlight if any of your lines never very match up.
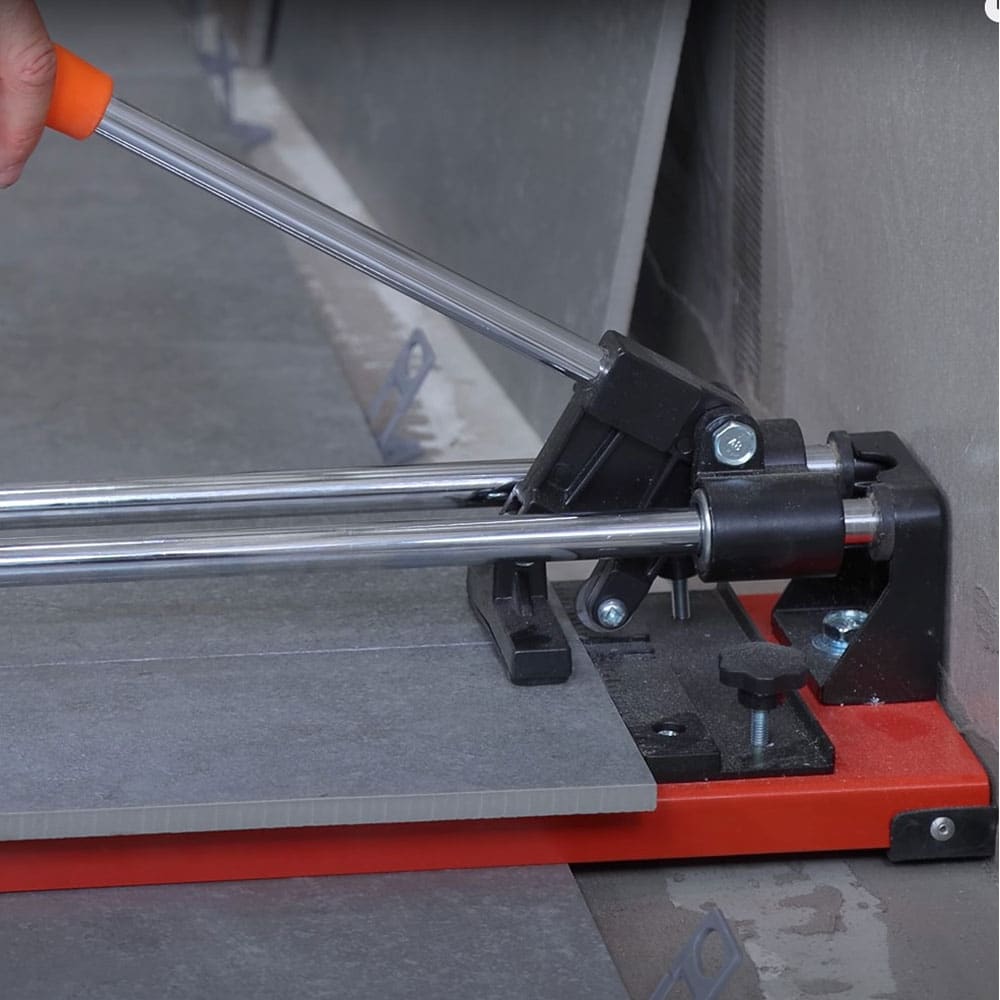
6- Reduce your tiles for the edges of your place
When you get to the edge of your area you may well have observed that you want to slice some of your tiles, in get to make them healthy into the gap. To measure how much you will need to cut off your tile, lay a person tile about the edge tile, lining up with the tile beneath. Grab by yourself another whole tile and lay on top of the initially, pushing it up in opposition to the wall to be flush. Mark on your initially tile exactly where this sits, this will be the place you slash. You can also use a tape evaluate to measure the gap involving the tile you have laid and the wall, marking this measurement on a total tile to slice. Use a tile cutter to slash your straight edge tiles, inserting it on the floor pushed up from the wall, and rating the place you beforehand marked. Use the attachment and a sharp, harsh movement to snap the tile wherever you beforehand scored it.
If you are struggling to grasp this method, check out our handy How to Reduce Straight Tiles manual.
7- Slash your tiles to in good shape around obstructions in the space
If you arrive to an spot on your floor house that has an obstruction, probably about the bathroom or close to the doorway frame, you will want to slash your tile to accommodate this. You can do this by developing a template of the tile you need. Get a full sized tile and a piece of cardboard, and attract all around your tile, then use scissors to slice this out. Measure the areas in which your tile is obstructed, and mirror this onto your cardboard tile. Minimize all-around the area with scissors, and spot this exactly where your tile need to sit, to be certain you have a piece that suits.
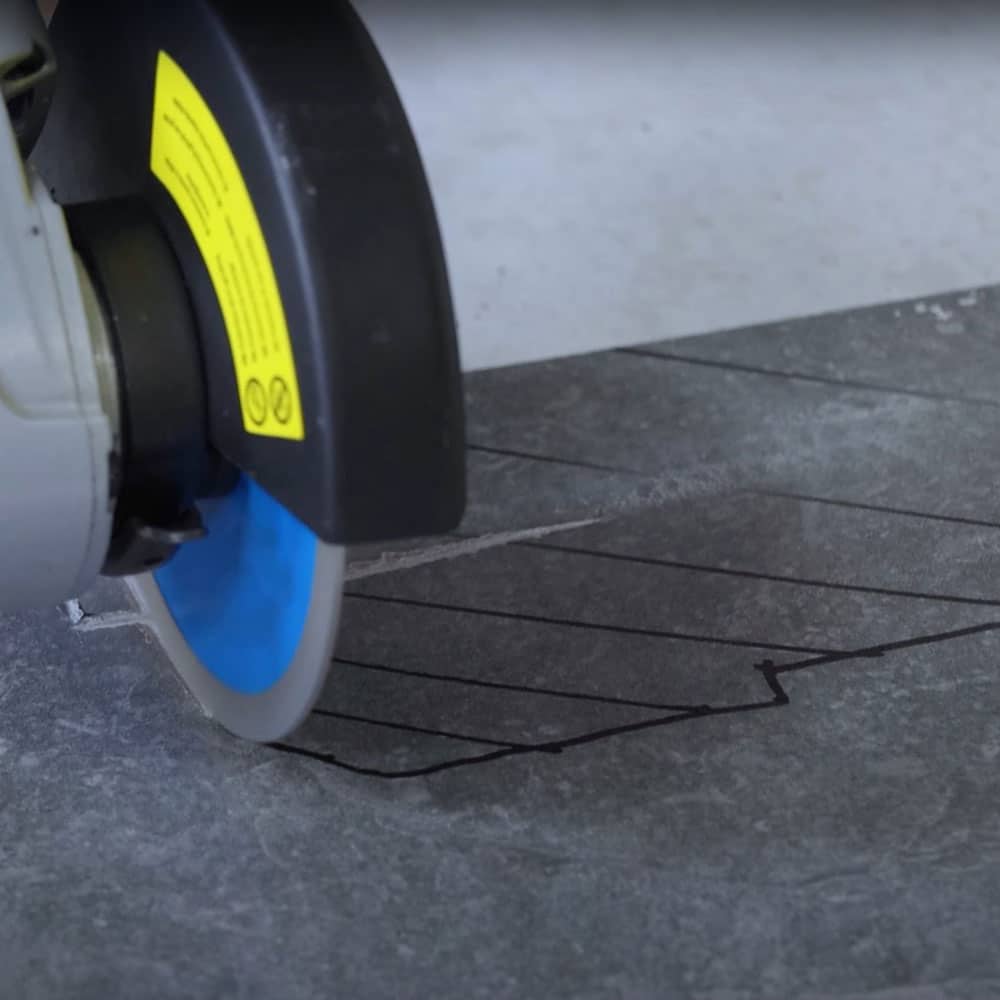
Put this over the comprehensive sized tile and attract all around it, completely ready to slash. Lower your tile working with a 4 inch grinder with a diamond suggestion blade, likely gradually and carefully. Check the condition and dimensions of your tile in your gap, making certain you’ve cut adequate absent. Lay your tiles as you have laid the preceding tiles in your room.
8- Take out your levelling method
As soon as your adhesive has established, grab a pair of plyers and tug on your levelling clips. These really should occur unfastened and be quickly removed. If these are eliminated with enough treatment you are going to be capable to keep the levelling wedges to use in your next tiling project, and just invest in new clips.
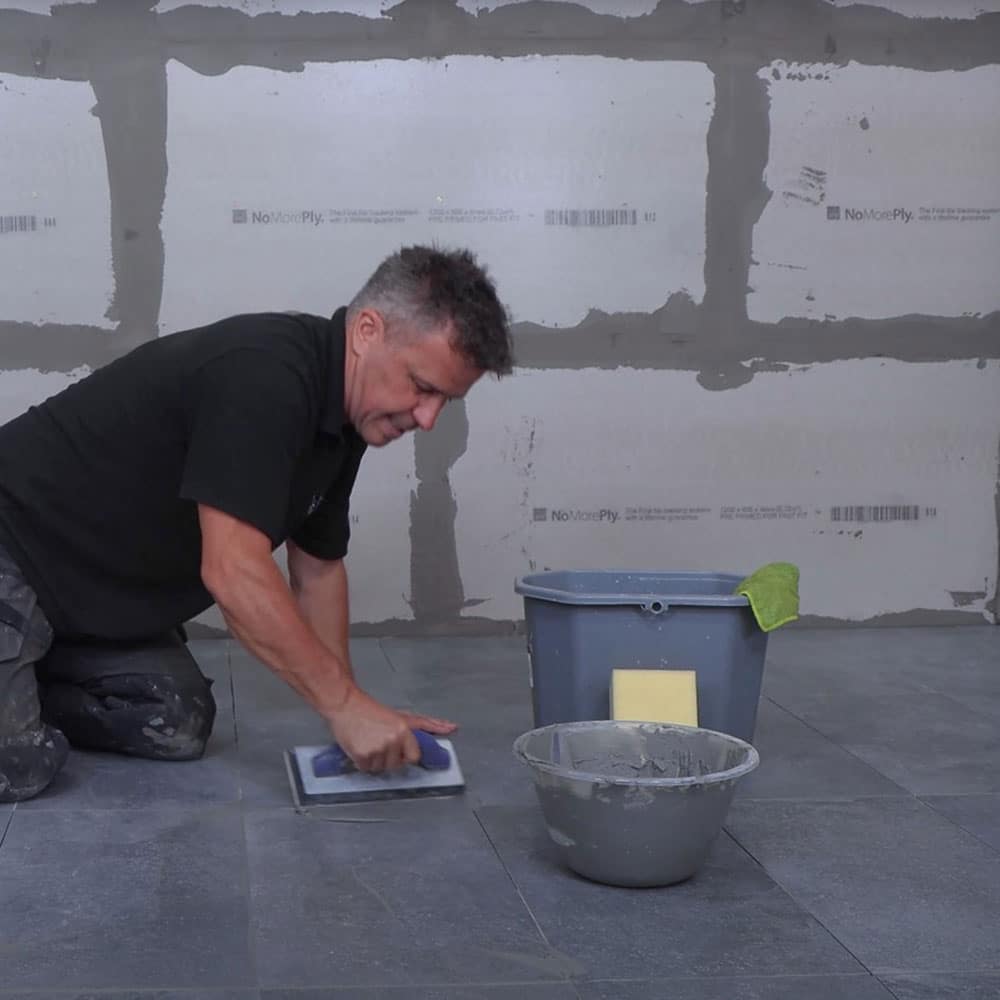
9- Grout and seal your tiles
After your adhesive has dried, you can now grout and seal your tiles. If you’re doubtful if your tiles have to have sealing or not, be positive to get in get in touch with with our pleasant staff, as they’ll be able to advise. If you have any dried adhesive across your tiles, use a scraper to remove it prior to having started off on your grouting.
If your tiles do need to have sealing, use a brush roller or a brush to use a layer of sealant throughout your tiles in advance of you grout them. At the time this has dried, you will be equipped to start grouting. Mix your grout as instructed on the packaging, and use a rubber grout float to spread throughout your tiles, urgent it into the joints and concurrently scraping away any further grout from the area. Utilizing cleanse drinking water and a sponge, wipe away any surplus grout from throughout the floor of your tiles. Allow your tiles to dry and clean all over again, repeating this until finally your tiles are perfectly thoroughly clean.
When your tiles are dry and cleanse, if they want sealing, implement another layer of sealant throughout the surface area. If you will need extra enable with sealing and grouting your tiles look at out our guide on How to Grout and Seal Floor Tiles.
There you have our whole guidebook on how to set up floor tiles. We hope you found it practical and sense like you can now Diy your area! Be absolutely sure to tag us in the effects of your place on Instagram, @Tilemountainuk, we enjoy observing your projects!
How to Cut Straight Tiles
How to Grout and Seal Floor Tiles
How to Slice a Doorway Down To Size

[ad_2]